
Like many people, I love the Converse brand. I’ve only ever actually owned one pair myself, but the fact that you can design your own shoes and get them sent to you by the website just speaks volumes to me. As if that wasn’t enough, my gorgeous friend Sally (who writes the amazing “Sal’s Kitchen” blog) got married in customised shoes and the men in the wedding party all wore a pair, which was a stroke of genius if you ask me. Also, David Tennant as Doctor Who. That is all.
I was scoping out a charity shop the other day and I came across a pair of Converse in my size. They were really scuffed and dirty, and really cheap as a result. I walked out with my £5 pair of shoes, and many ideas blooming. Here’s a tutorial so that you can do what I did and end up with beautiful shoes too!
Tutorial: Painting Converse
I painted my shoes to look like galaxies, and that is what this tutorial is for. The method for painting them any other way is essentially the same, except I would use brushes and follow a sketch if you want them to be more specifically decorated! This was my inspiration picture (taken from the NASA website, hopefully they won’t mind that I’ve borrowed it).

You will need the following materials:
- A pair of Converse shoes
- Bleach
- Masking Tape
- Acrylic paints (you can use fabric paints but it’s harder to achieve a good paint consistency)
- For galaxy shoes, black, red, blue and white
- Sponges (important for a galaxy type effect)
- Water
- An old toothbrush
- A bicarbonate and vinegar paste: two parts bicarb to three vinegar (roughly) so you end up with a thick paste that you can spread easily. Don’t forget, when you add the vinegar, the solution will fizz violently.
- New laces if the old ones are stained
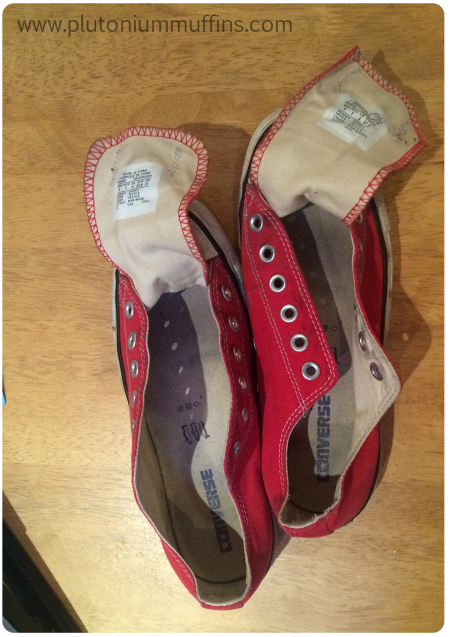
An old pair of Converse before treatment.
The Method
Step 1: Remove the laces and discard if they are stained, or put to one side if they are OK to use. Pop the shoes in a bleach solution. I did this because they were bright red, and I wanted to over-paint them without the red being too overpowering, so the idea was to reduce the colour. If you don’t have a problem with the base colour, I would still recommend washing them well so that you have a clean canvas to go with.
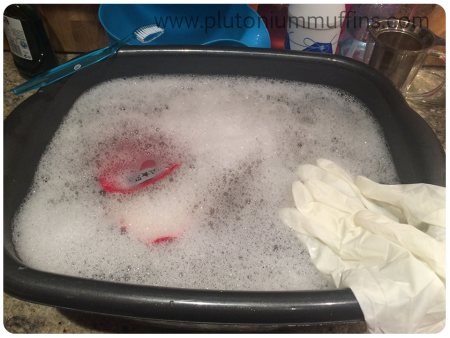
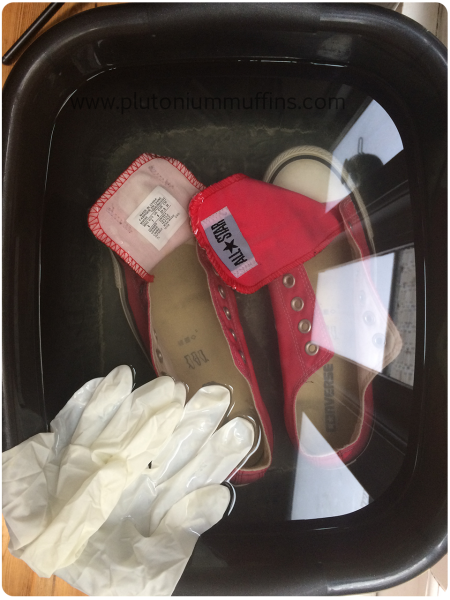
Tip – don’t leave the shoes in a strong bleach solution for a long time as the canvas can degrade. Mine were in a weak solution (5 litres of water to one capful of bleach) for 24 hours. Then I took them out and rinsed well.
Step 2: Leave the shoes to dry thoroughly, then mask off the rubber soles if you don’t want them to get covered in paint. If the intention is to make these a different colour too, all bets are off. I used layers of masking tape, and was careful to follow the contours of the rubber so I didn’t end up accidentally masking the canvas and creating strange patches in the paint.

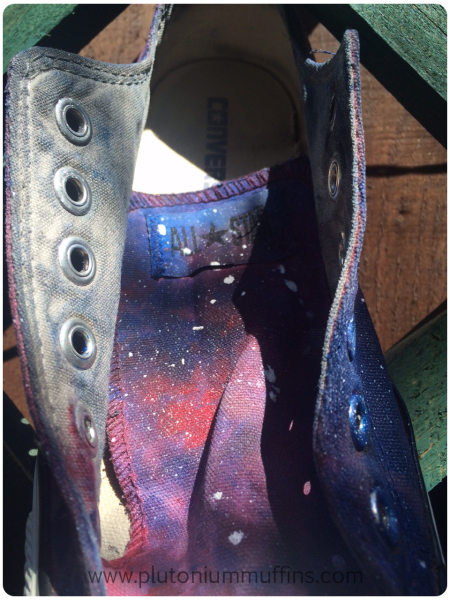
Step 3: Get artistic with the paint! I used a very watery black first, and sponged it all over the shoes. With the pink underlayer, it came out kind of purple. I then left this to dry. In the meantime, I mixed my paints. Although a certain amount of mixing happens during application, I wanted purples, different shades of blue, and pinks on the actual shoe, so I made sure I had these colours on my palette before application.
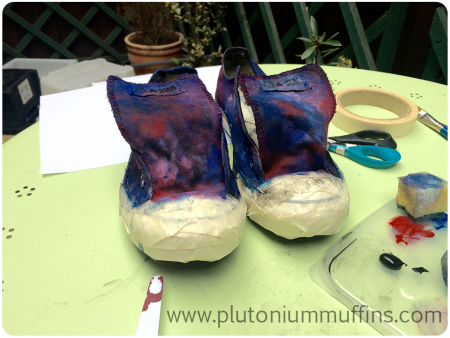
Using the sponge creates the sort of texture I was looking for – ‘clouds’ of paint that intermixed but were separate. I put on all the colours, then used a sponge with white paint on it to do some blending and lightening up. Then I left them to dry for another 12 hours.
Step 4: Use your toothbrush to make ‘stars’. I did this by dipping the brush in the white paint, then tapping it to get as much of the excess off as I could. Then I used my finger to flick the paint over the shoes so that it ended up in random splatters across the shoe.
Step 5: Once this has thoroughly dried, removed the masking tape. You’ll then want to clean the rubber of the shoes. The watery black paint I used first seeped under the tape and stained the rubber, but this is sorted out in Step 6. The video below was me using the app “Periscope” to unveil the shoes.
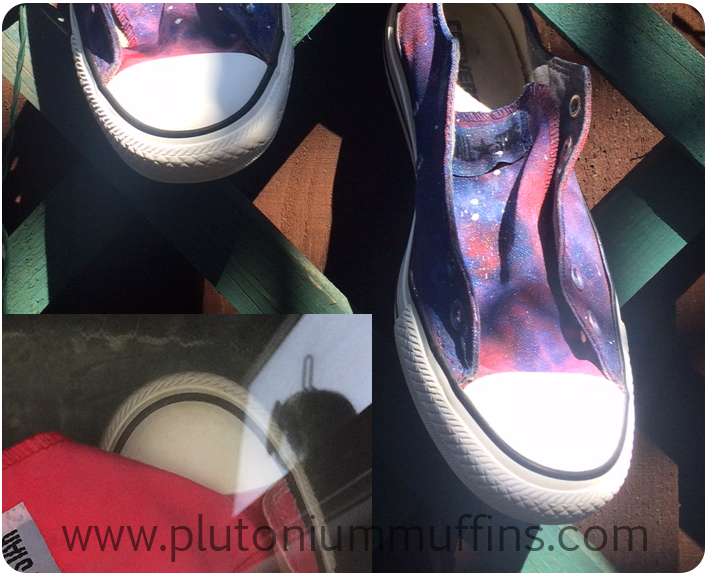
Step 6: Using your paintbrush and your bicarbonate soda and vinegar paste, scrub the rubber. Keep going until it is as bright and shiny as you can get it. You can see the difference in the colour of my rubber in the comparison photos below. When you’re satisfied, rinse thoroughly and leave to dry again.
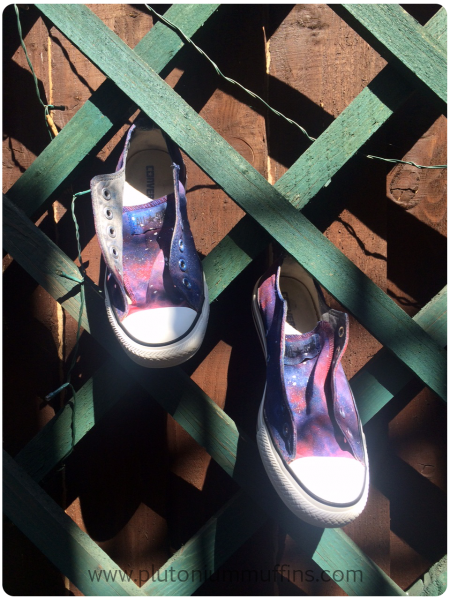
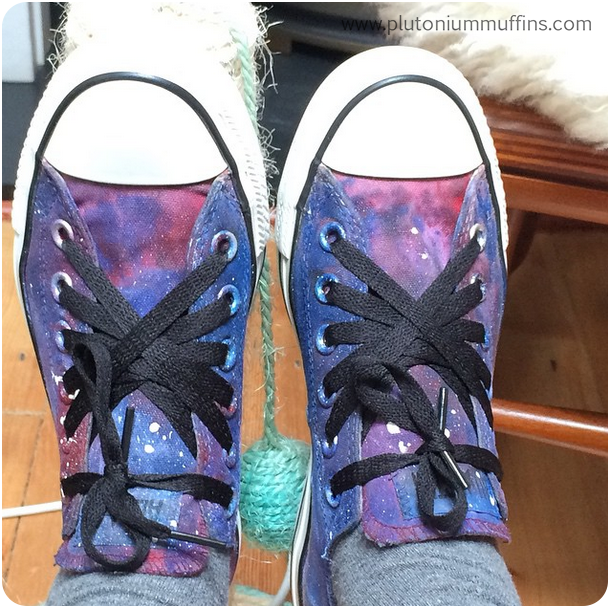
Step 7: Lace up, use and enjoy! The photos below show mine laced with the only laces I had available – I’ve ordered new ones and they’ll look slightly less crazy soon…
I think I was pretty successful…what do you think?
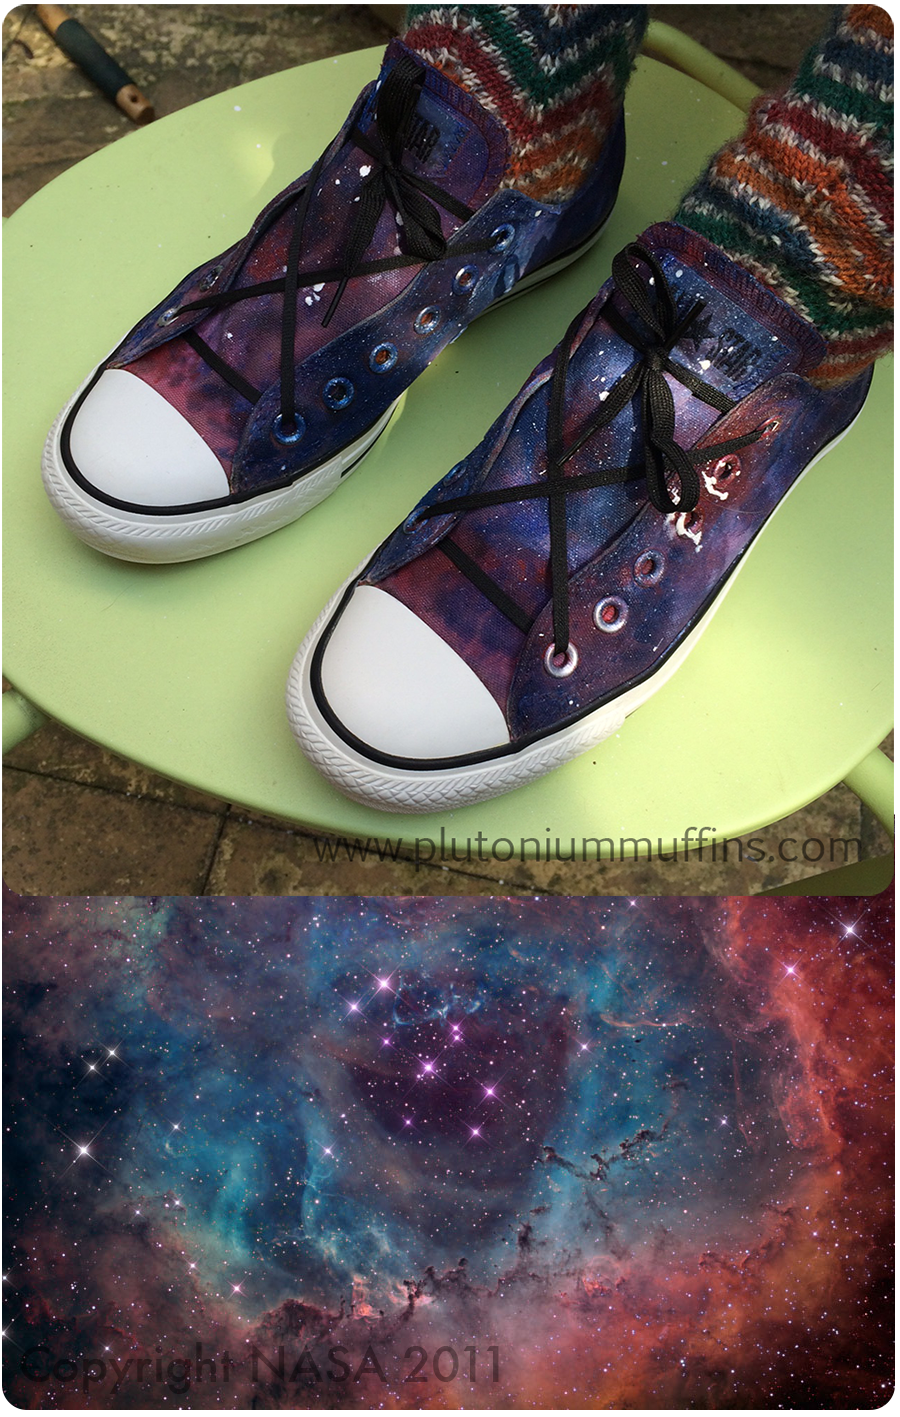
Update on 8th May 2015: I received my new laces today and have finally laced the shoes up! I used the ‘nebula’ lace pattern to make the pattern. You can do any search on Google and find out how to do it in a number of places.
Much love,
Corrie xx
Tips for using acrylic paints
These are water soluble, but once they dry they are no longer removable. Make sure you cover surfaces, and clean brushes and other equipment as soon as you’re done using them so that they don’t stain. If you do get the paint on anything you don’t want it on, wipe it up before it dries. If it dries before you notice it, you can try use the same bicarbonate soda and vinegar paste to clean, but it may not be successful. Ask me how I know.


Wow… amazing, you did a great job.
Those look fantastic! They look exactly like your inspiration photo. Nicely done!
Those are really incredible. What a great project!
they look very cool :) Thanks for the tip on using acrylic paint. I need to get some new converses soon as my current pair are wearing through on the soles and have split rather badly along one side
That is absolutely amazing. Just wow. Well done!
nice job – you’ve bought the galaxy for a fiver that’s pretty sweet! :D really well done and thank you for sharing the tutorial :) jenny xx
These look amazing so glad I came to have a look :)