I made a super easy needlecase for my lovely friend Nadine, and filmed the process to show you how I did it! I talked about the original project in a previous post. This is the step-by-step tutorial as shown on this video on my YouTube channel. For details of the giveaway, head on over the video to find out how to win the “sew” needlecase.
(This giveaway will close on the 30th of November, 2016.)
Easy Needlecase Tutorial
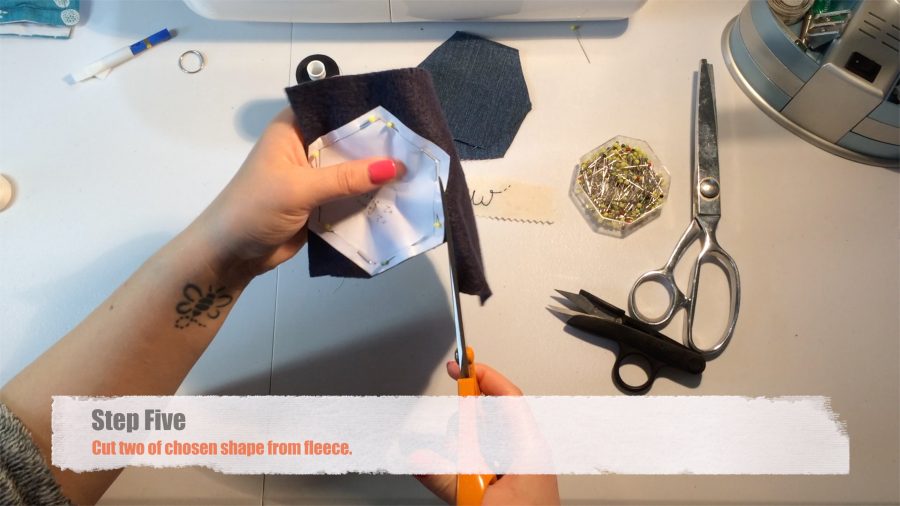
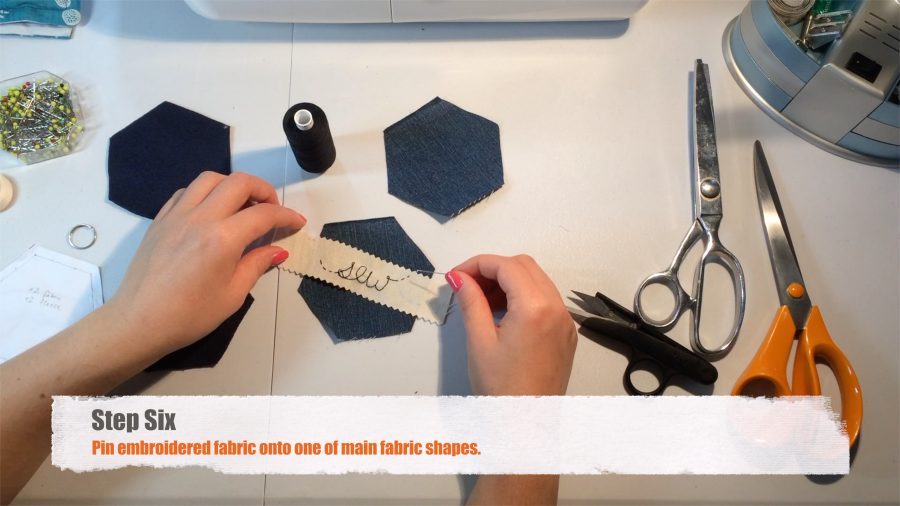
Before you start, choose the shape you would like your needlecase to be – I chose a hexagon. You are also going to do some very simple embroidery, stitching a word on the contrasting fabric. Choose that word now! I usually use names, but made this one a little more generic for the giveaway.
Assemble your equipment.
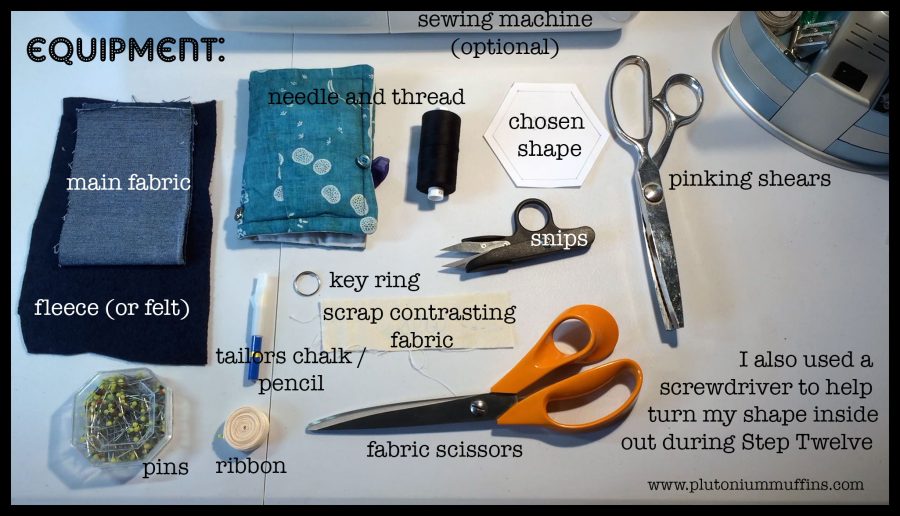
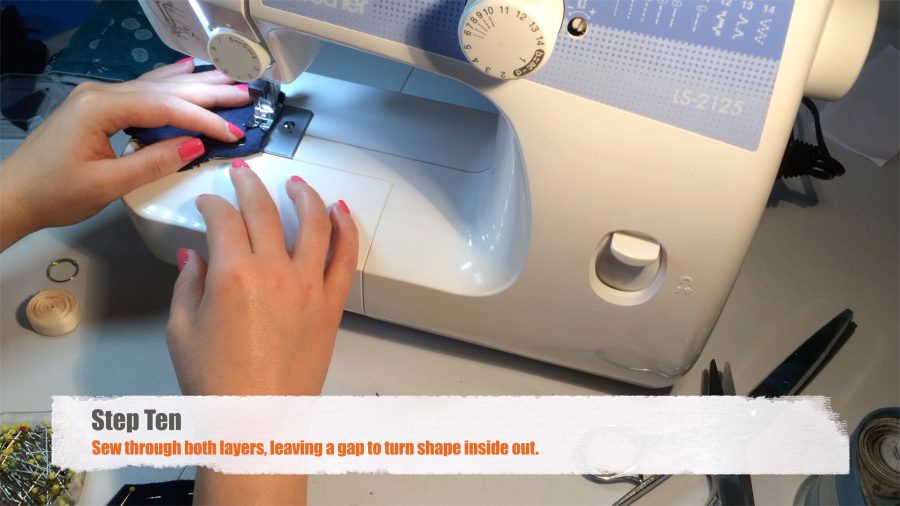
After you’ve assembled your equipment, you’re ready to go! I used a sewing machine as I had one – if you don’t, you can easily do these bits by hand.
Step One: Write your chosen word on the contrasting fabric.Step Two: Backstitch the word onto the fabric.Step Three: Use pinking shears to cut zigzag edge (this step is optional, but if you don’t do it you will need to use fray stopper or sew a hem to stop the fabric fraying)Step Four: Cut two of your chosen shape from main fabric.Step Five: Cut two of chosen shape from fleece (you can also use felt, but it is slightly bulkier and I’ve had worse results using it).Step Six: Pin the embroidered fabric onto one of the main fabric shapes.Step Seven: Top-stitch your embroidered fabric onto the main fabric.Step Eight: Trim the overlap of your embroidered fabric and cut the excess lengths of thread.Step Nine: Pin the main fabric to the fleece right sides facing (for both sides of the needlecase).
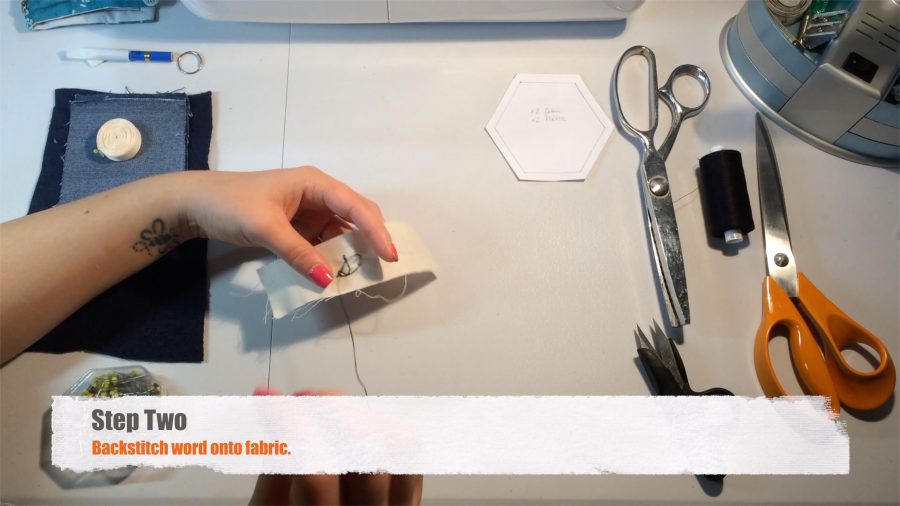
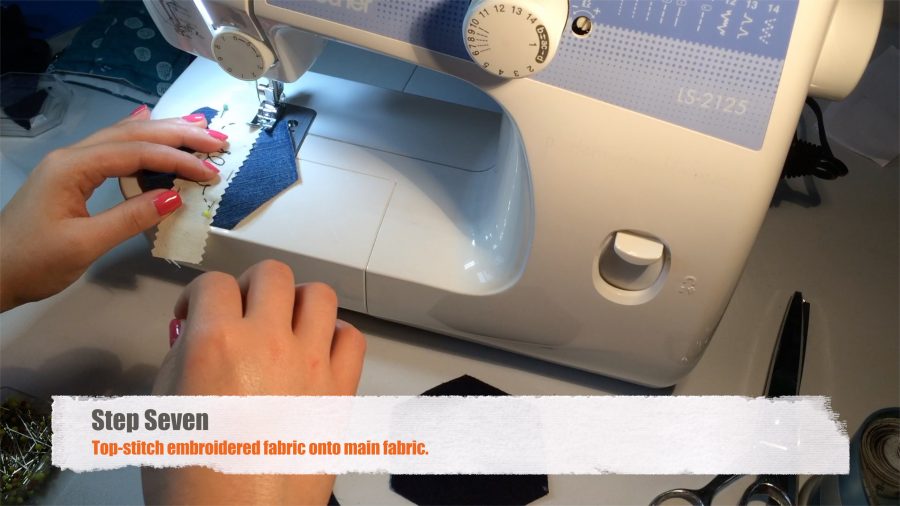
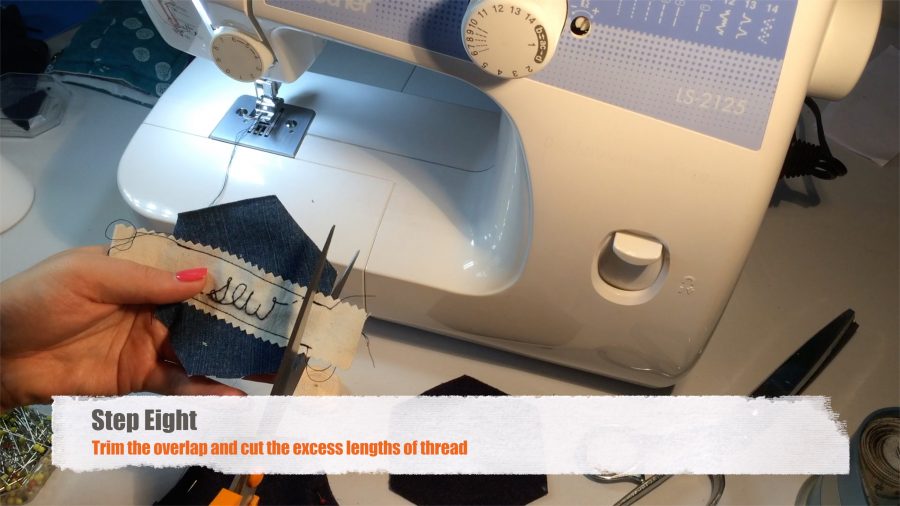
From this point on, your sewing will be visible. Be as neat as you can!
Step Ten: Sew through both layers, leaving a gap to turn the shape inside out.Step Eleven: Snip any corners off to reduce bulk when turning inside out.Step Twelve: Turn both shapes inside out (use something long to poke out corners i.e. screwdriver).Step Thirteen: Turn a hem down on remaining the unsewn side and insert your ribbon. (Notice I used black here, but in my equipment pic it was white – I decided I preferred the width of this ribbon). Pin.Step Fourteen: Trim the ribbon.Step Fifteen: Top stitch all edges of the shape, ensuring you secure the ribbon and turned under hem.Step Sixteen: Thread a key ring onto the ribbon. This is optional, but something I find incredibly useful.Step Seventeen: Turn the hem on the remaining unsewn side down and insert the ribbon. Pin.Step Eighteen: Top stitch all edges of the shape, ensuring you secure the ribbon and turned under hem.Step Nineteen: Trim all ends of excess thread.Step Twenty: Fill with needles! Voila! Your super easy needlecase is complete.
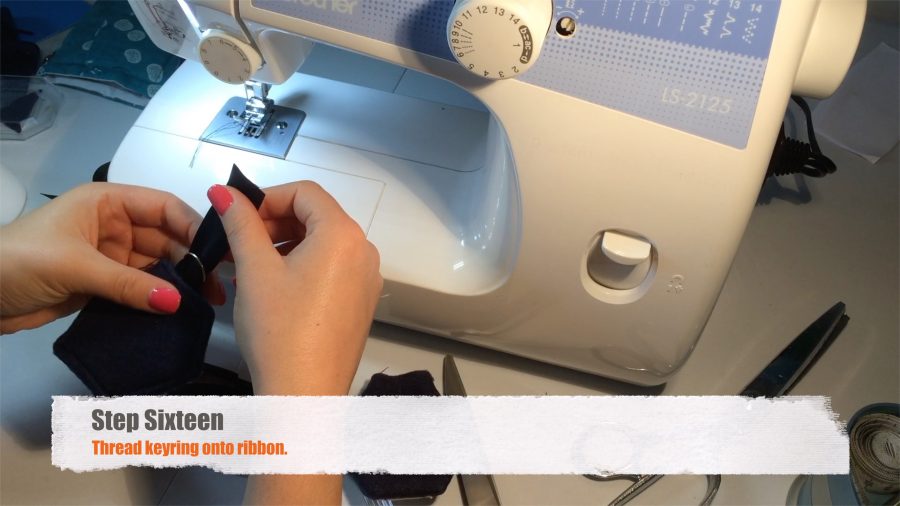
I’ve been finding these needlecases really great, quick presents for friends who deserve a special something, and perhaps don’t have a basic sewing kit. Give it to them with some thread, pins and scissors, and you’ve set them up. Everytime they sew a button on they’ll think of you! WHAT a gift.
I really hope you find this useful – if you make one, I’d love to know! All my social media bits are linked on the right.
Corrie's blog about fibre crafts, followed by whatever other creative pursuits take my fancy. A healthy source of fibre! Originally inspired by Pluto and Canadian Muffins.
Very cute!