
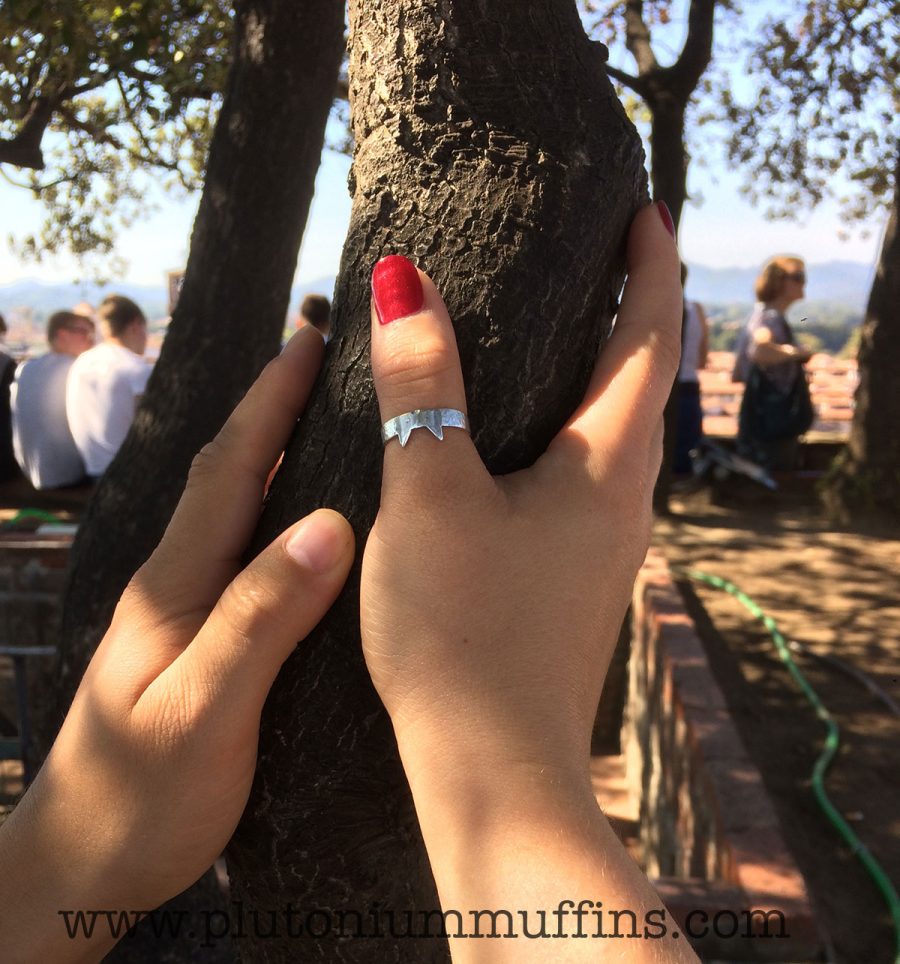
The last time you saw the kitty ring, it had just had its ears soldered on and was ready to be cleaned up and turned into an actual ring! I finished it a while ago and have been wearing it with pride since. It even came to Italy for a wedding when it wasn’t quite ready for wearing out and about. I was just too proud!
I’m doing a silversmithing course with Alice Goldsack in Bristol. More information here!
First…a kitty face
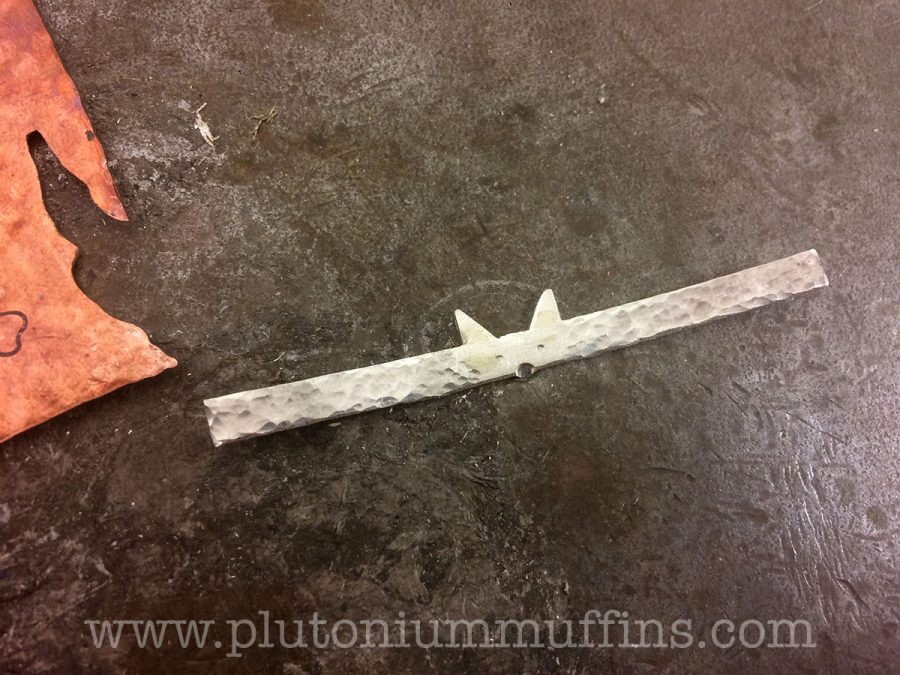
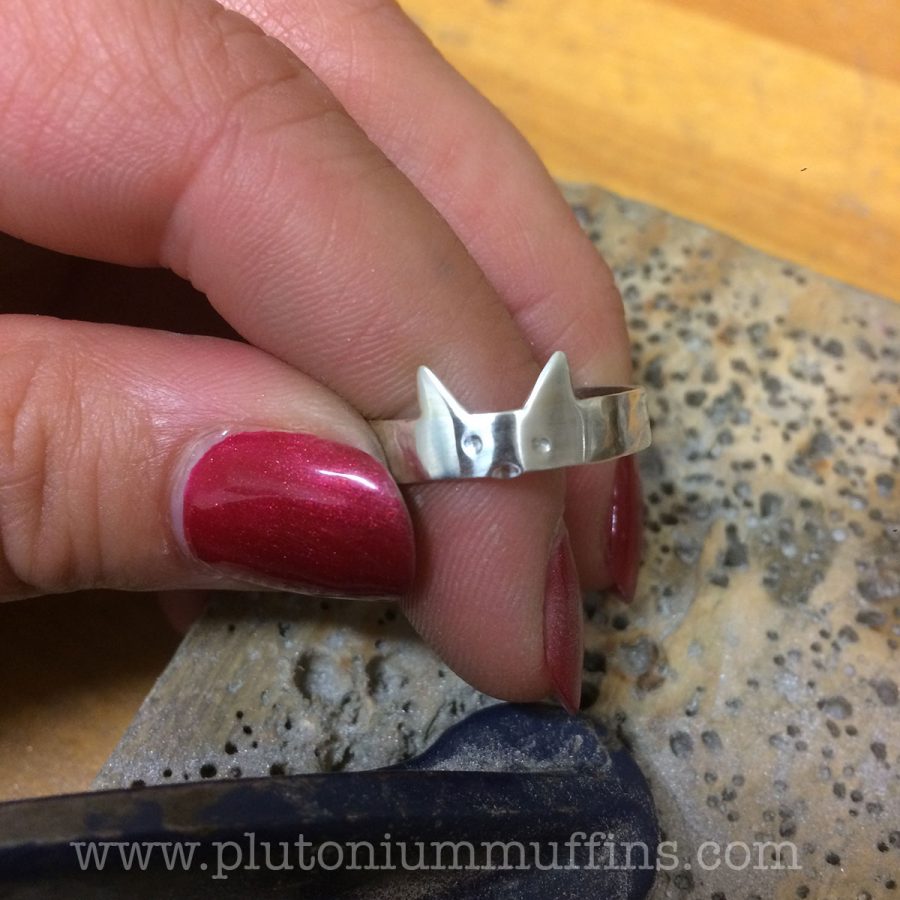
After soldering the ears on, I filed the ends of my piece of silver so they were both flat. I had planned to leave it at that, but the week between lessons gave me some ideas, and I decided to use a ball hammer to put a texture into the ‘non cat’ parts of the ring. Eyes and a nose went in using some unidentified tools I found on the side. I was really, really pleased with how it came out. The perfection of this was totally accidental – I had no idea the nose would sort of stick out like it does (hopefully you can see well from the photo). The kitty had a face!
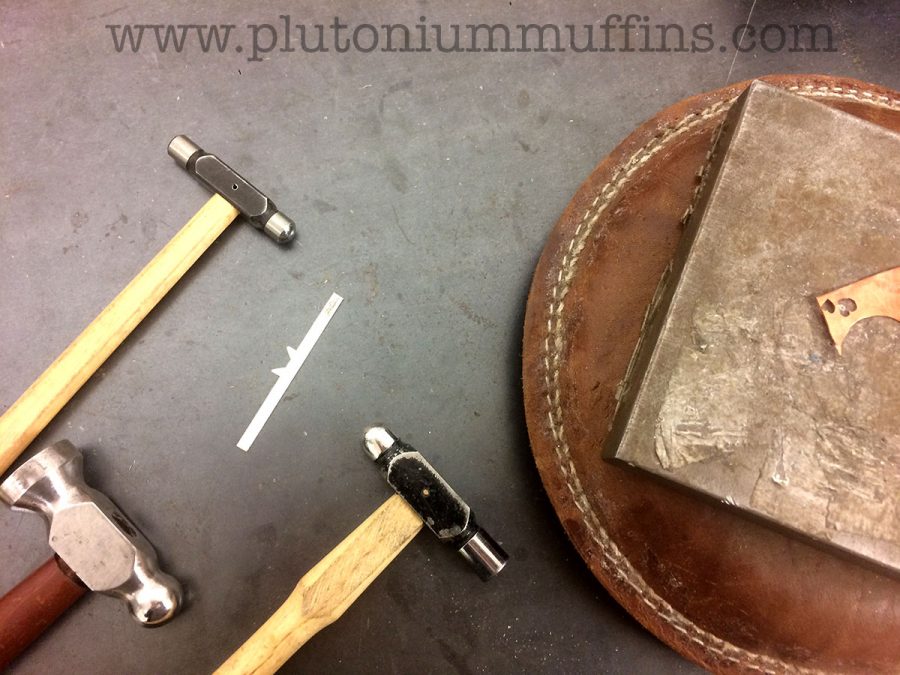
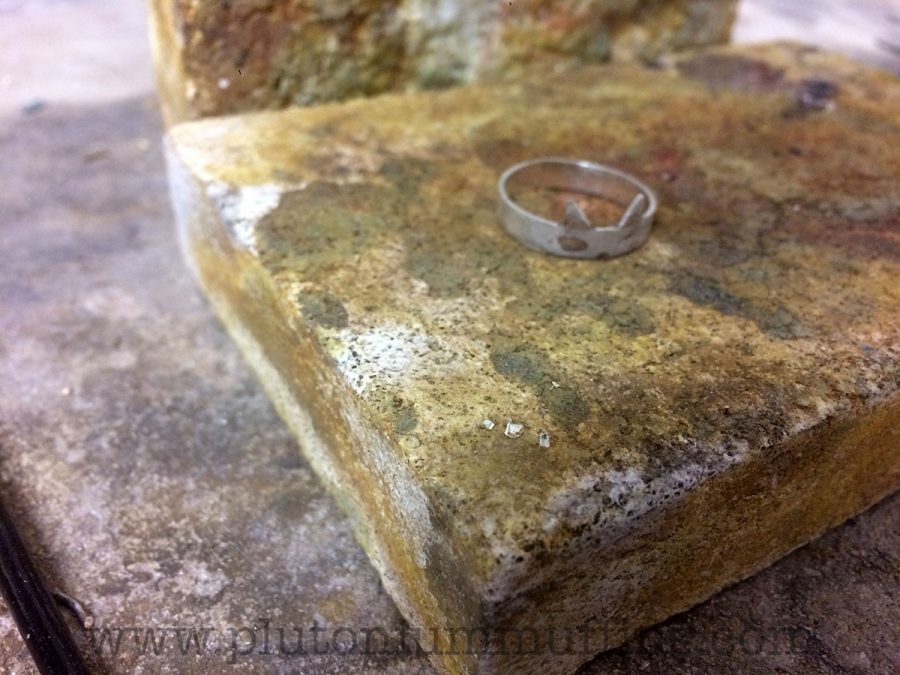
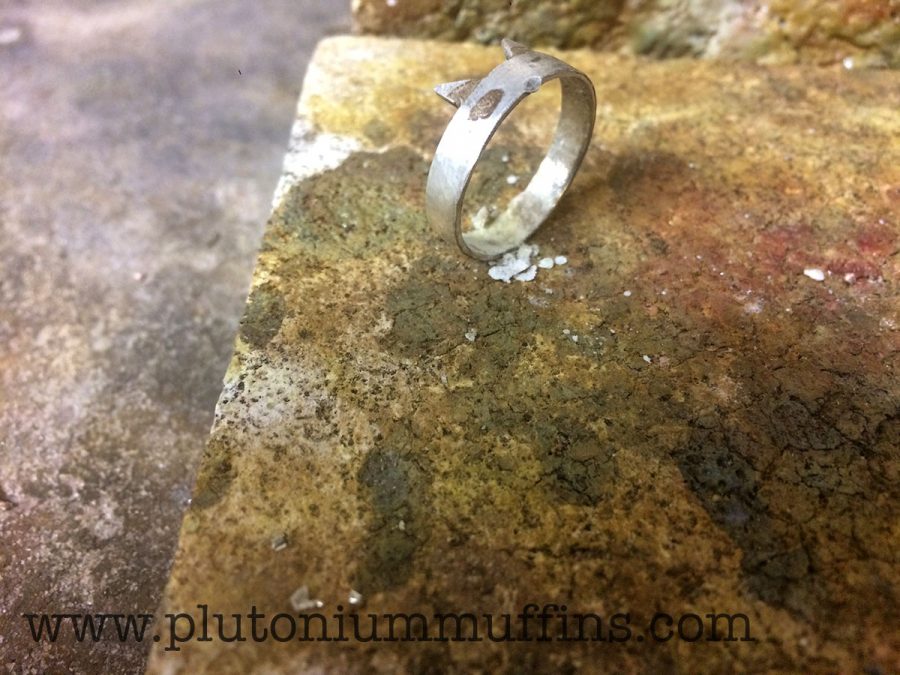
Then I used a piece of equipment called a mandrel to hammer the flat rectangle into a ring. You do this using a leather or plastic headed mallet to prevent marking the silver. With all the effort I’d gone to hammering my texture in, it would have been really annoying to then hammer those out when bending the ring. This part of the process was really, really hard!
I eventually got it into the ring shape, and used some pliers to make sure the ends met properly. This was something I needed help with, and the value of having the teacher there was immediately realised as I would never have known to do what she recommended unless I’d asked. It was time to do some soldering!

Joining it up
Soldering is a process that fascinates me. It’s basically magic! Once the solder pieces melt you have to drop it into an acid solution (I’m not entirely sure why) and the metal gets discoloured. The yellow bits you can see in the picture are the solder, which I hadn’t filed down properly.
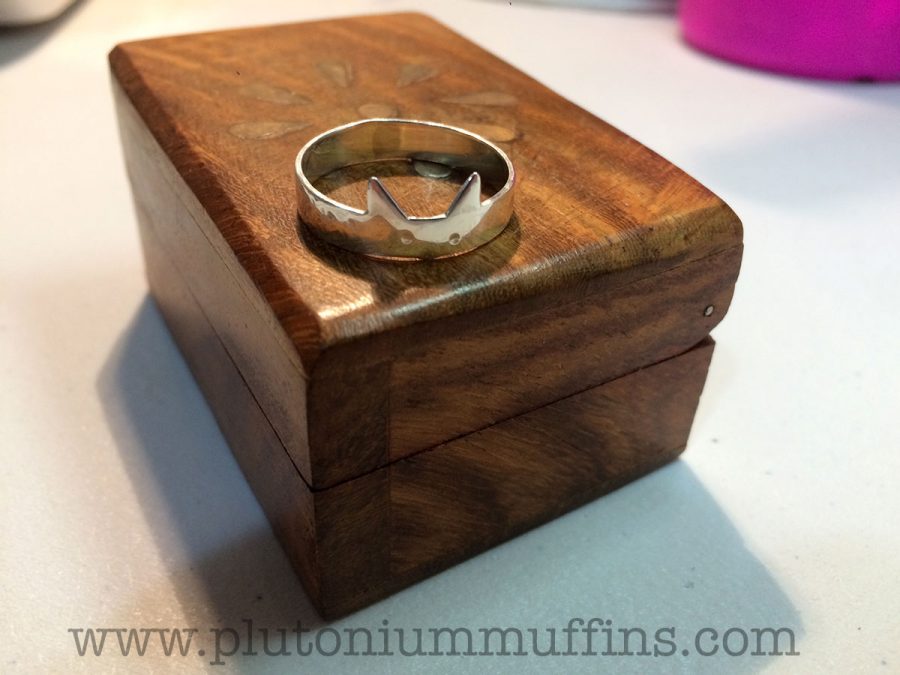
After joining everything I had a kitty ring! It was time to neaten it up, sandpaper it and give it a polish. The polishing is done using a big wheel, which I vaguely remember from design tech lessons as a teenager. Something you never really think about is how conductive silver is. The ring got incredibly hot, incredible quickly and I had to keep taking breaks to avoid burning myself.
The finished product is something that I’m ridiculously proud of. It’s actually really hard to wear – the ears catch on everything, so I’ve learned a lesson there. However, for a first piece of jewellery, I couldn’t have asked for more of myself.
I’ve already finished my second piece, so you’ll see that in my next blog post (or go to this YouTube video for a sneak preview). I’m really enjoying these lessons! Watch this space…
Much love,
Corrie xx


What a amazing result! That is stunning work. Thanks for showing us the differnt steps.